This tutorial is updated for Moments Designer v1.07 - later versions might differ slightly.
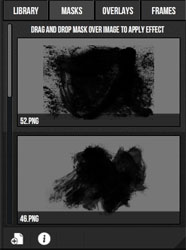
Starting with version 1.07, Moments Designer introduces photo mask effects as another way of making your albums look more original and professional. The masks are located on the right side of application window by selecting the "MASKS" tab:
Starting with version 1.07, Moments Designer introduces photo mask effects as another way of making your albums look more original and professional. The masks are located on the right side of application window by selecting the "MASKS" tab:
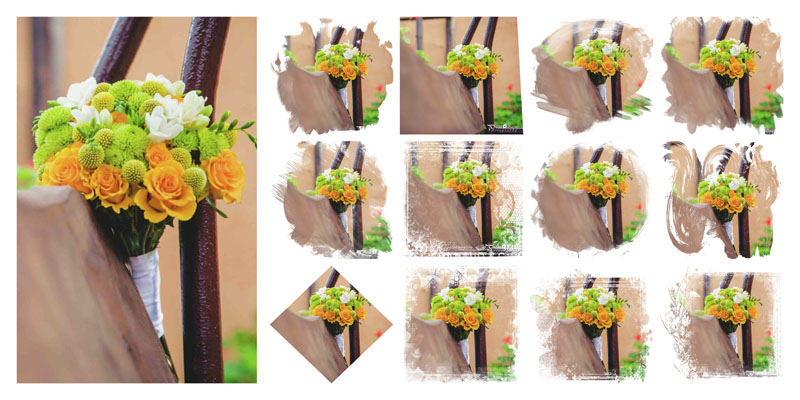
Samples of this masking effect can be found bellow with the masks already bundled with Moments, of course, you can add your own also:
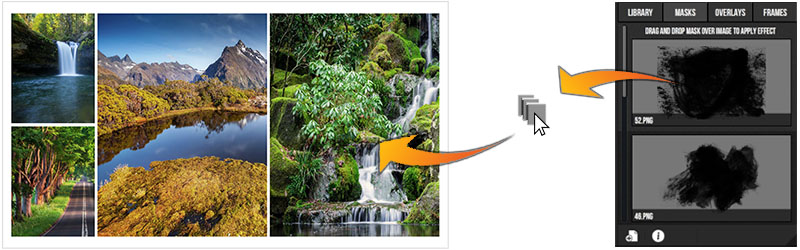
Mask your photos by dragging a mask effect from the library over an image inside your spread. You must be in the spread/page/cover editor mode for this to work.
Add your own masks to the photo library by drag and drop mask files onto the mask library or by clicking the add icon from the bottom control panel and browsing to the location of the mask file image in the window that pops up.
Suported image format for masking purposes is PNG files with transparent background.
Start with an empty and transparent canvas and paint/draw over the areas that will be visible using a black color pencil or brush. Alpha levels are supported, a 50% transparent black shape on a mask will make the masked image show 50% transparent as well.