This tutorial is for Moments Designer v1.07 - later versions might be different.
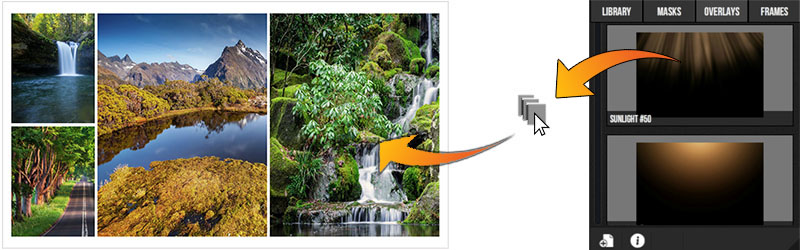
Starting with version 1.07, Moments introduces photo frame effects. You will find the frame library on the right side of application under the "FRAMES" tab:
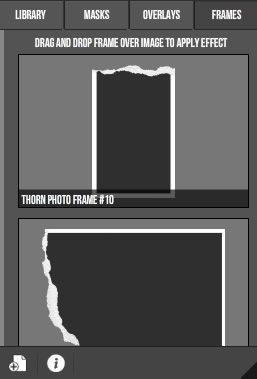
A few thorn photo frames are added to Moments library, but of course you will add your own. A sample of photo frame effects can be found below:
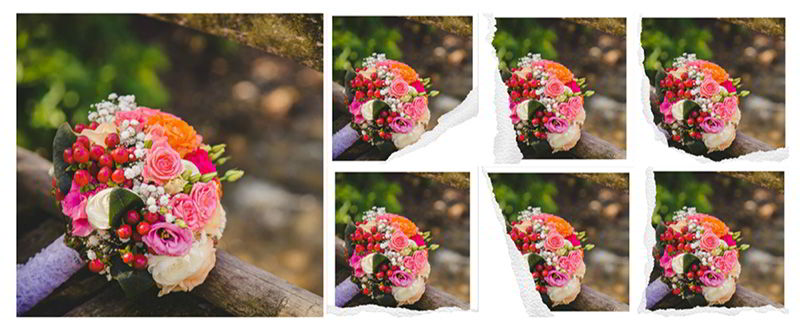
Add frames by dragging a frame effect from the library over a photo from your spread. You must be in the spread/page/cover editor mode for this to work. Create 100% all original designs by adding your own effects.
To be able to create your own frames, you must understand how the process works. A frame effect uses two image components:
1) a masking image, used to cut the photo to the frame outline
2) the frame overlay, to add the frame border around the image
You cannot use masks with frames, they are mutually exclusive, but you can add overlay effects on a framed image.
Add your own frames in library by clicking the add icon from the bottom control panel and browsing to the location of the two frame image components in the window that pops up.
Supported image format for overlays are PNG files with transparent background. The same for the mask component, PNG files with transparency.
Have a look at the formats used by checking out {app_folder}/resources/frames/bitmaps/ and see the images already provided with Moments Designer.
Try out the frames yourself.